Nano Banana Pro Long-Text-to-Infographic: List Key Points, Then Lay Out
Turn a passage of content into an N-panel Traditional Chinese infographic, specifying the number of columns, color scheme, font-size hierarchy, and whitespace.
我要把下面這段內容做成一張「一張圖看懂」的繁體中文知識圖卡,尺寸[尺寸規格]。

【第一步:先決定重點,再排版】請把內容濃縮成 [重點數量] 個重點,每個重點包含一個短標題(6 字內)和一句說明(20 字內),不要照抄原文、要改寫成精煉的人話。

【版面結構】
- 最上方:一個大標題(置中),文字為『[圖卡主標題]』
- 中間:[重點數量] 個重點,排成 [欄數] 欄的卡片格狀佈局,每張卡片左側放一個簡單的線性小圖示,右側放短標題(粗體)+說明(細體、字級小一階)
- 最下方:一行小字署名/來源,文字為『[底部署名]』

【文字規範】全部使用繁體中文,標題與內文一字不差地呈現我改寫後的版本;不得出現簡體字、錯字、自創字;標點用全形;橫排由左至右閱讀。

【視覺風格】主色調用 [主色調],背景乾淨、卡片之間留足夠白邊不要擠在一起;字級層級分明(大標 > 卡片標題 > 說明 > 署名),整體像一張排版專業的懶人包圖卡。

【禁止】不要塞進沒提到的內容;不要用花俏背景蓋住文字;每張卡片的文字長度盡量一致,避免有的爆字有的空蕩。

要做成圖卡的內容如下:
「[要視覺化的內容]」

若任何文字有誤,請保持版面與配色不變、只修正文字。
Swap the variables inside the [ ] brackets for your own content, then paste into Nano Banana Pro (Gemini).
No other tool needed — run this prompt right here and see the result (edit the text and swap the [variables] first if you like). History lives in My generations.
Infographics live and die on Chinese-text precision, which is exactly where Nano Banana Pro excels. The most common way to fail is dumping an entire PDF in and asking it to 'turn this into an infographic' — the model ends up cutting content arbitrarily, laying it out arbitrarily, and blowing text out of its frame. The core of this prompt is forcing a two-step process: first condense the content into a fixed number of points with a fixed character-count cap (a 6-character heading, a 20-character description), then lay those out into a card grid with a specified column count. The character cap is the key to a tidy layout — without it, some cards overflow with text while others sit empty. Honest note: keep the point count to 3-6; beyond 8, text starts shrinking and cramping, and readability drops fast — if you genuinely have that much content, split it across two or three sequential infographics. This works smoothly for teachers, knowledge-focused influencers, and salespeople making cheat-sheet visuals. Remember to specify full-width punctuation, and horizontal layout is more stable than vertical unless you specifically want a vertical-text style.
一張方形知識圖卡:頂部大標題,中間 2x2 或 3 欄的重點卡片(每張左圖示右文字),底部一行小字署名,配色乾淨、字級層級清楚。
[尺寸規格]例:IG 貼文 1:1/Threads 直式 3:4/簡報 16:9
[重點數量]例:4(建議 3-6 個,最多別超過 8 個免得太擠)
[欄數]例:2 欄(4 個重點)/單欄垂直條列
[圖卡主標題]例:3 分鐘搞懂勞退新制
[要視覺化的內容]例:貼上一段文章、會議結論或產品說明,越具體越好(例:把這份財報摘要的五個重點…)
填下面的欄位,上方 prompt 會即時替換 [方括號] 內容。填好後按「複製組好的 prompt」直接丟進工具。
我要把下面這段內容做成一張「一張圖看懂」的繁體中文知識圖卡,尺寸[尺寸規格]。

【第一步:先決定重點,再排版】請把內容濃縮成 [重點數量] 個重點,每個重點包含一個短標題(6 字內)和一句說明(20 字內),不要照抄原文、要改寫成精煉的人話。

【版面結構】
- 最上方:一個大標題(置中),文字為『[圖卡主標題]』
- 中間:[重點數量] 個重點,排成 [欄數] 欄的卡片格狀佈局,每張卡片左側放一個簡單的線性小圖示,右側放短標題(粗體)+說明(細體、字級小一階)
- 最下方:一行小字署名/來源,文字為『[底部署名]』

【文字規範】全部使用繁體中文,標題與內文一字不差地呈現我改寫後的版本;不得出現簡體字、錯字、自創字;標點用全形;橫排由左至右閱讀。

【視覺風格】主色調用 [主色調],背景乾淨、卡片之間留足夠白邊不要擠在一起;字級層級分明(大標 > 卡片標題 > 說明 > 署名),整體像一張排版專業的懶人包圖卡。

【禁止】不要塞進沒提到的內容;不要用花俏背景蓋住文字;每張卡片的文字長度盡量一致,避免有的爆字有的空蕩。

要做成圖卡的內容如下:
「[要視覺化的內容]」

若任何文字有誤,請保持版面與配色不變、只修正文字。
 PRO01
PRO01Premium 3D Collectible Figure Avatar
Transform the input photo into a high-end stylized 3D collectible figure…
 PRO02
PRO02Cherry Blossom Café Outdoor Portrait
Edit the provided image while preserving the same face identity, shape,…
 PRO03
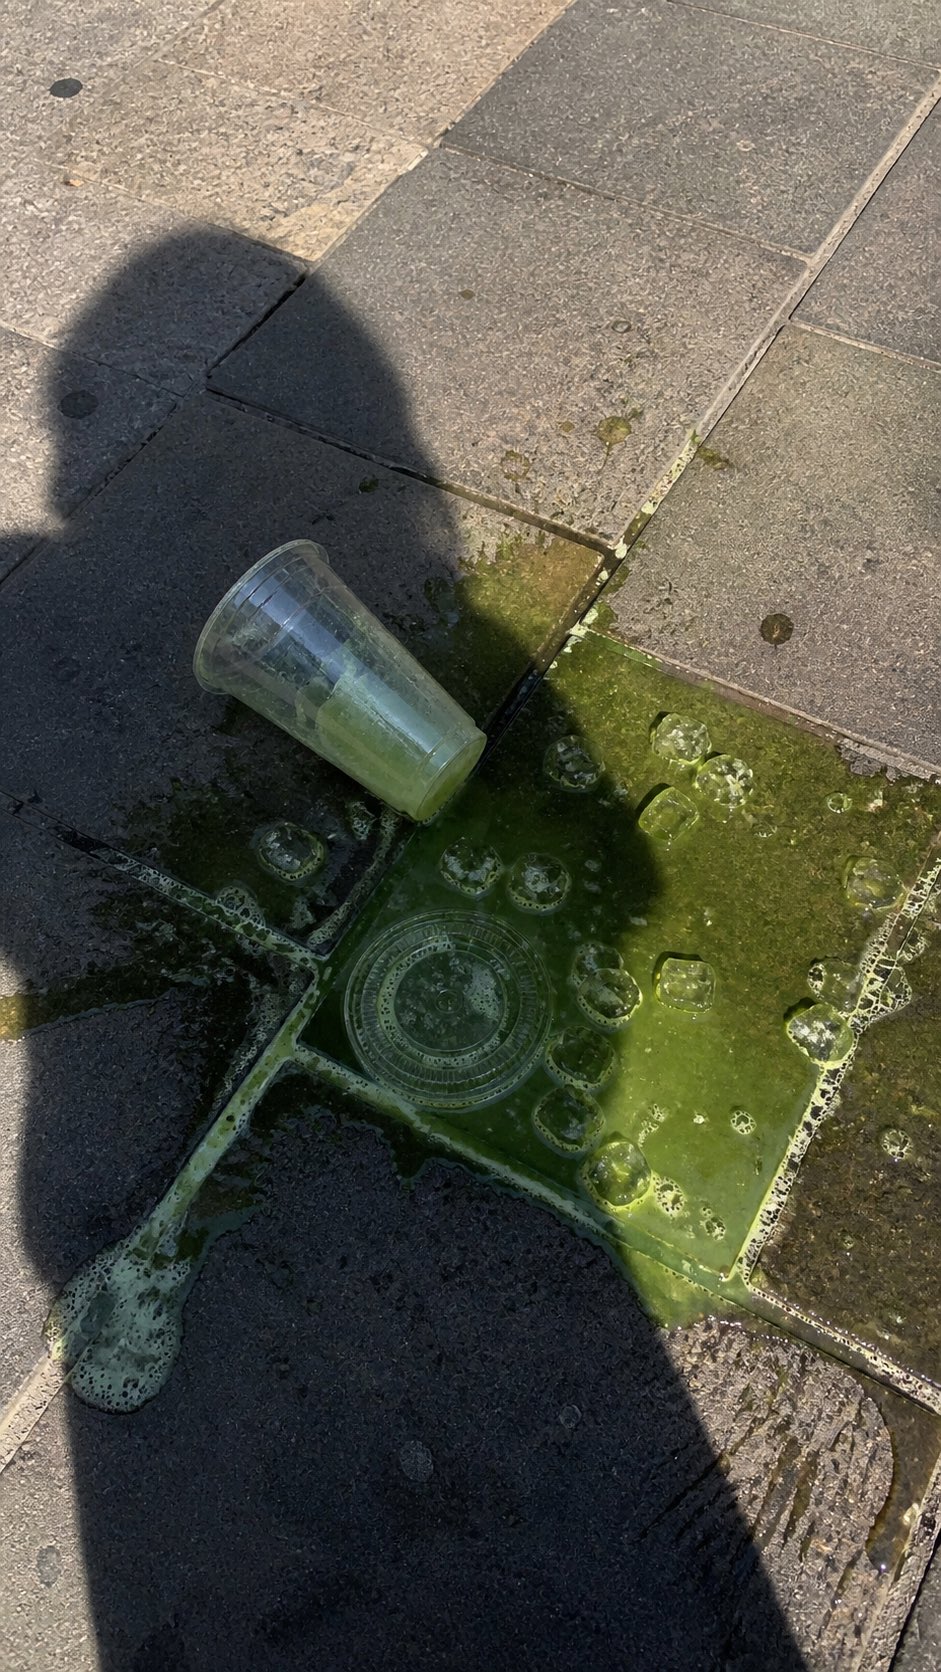
PRO03Spilled Matcha Street Smartphone Photo
A realistic vertical smartphone photo of a spilled green iced drink on o…
 PRO04
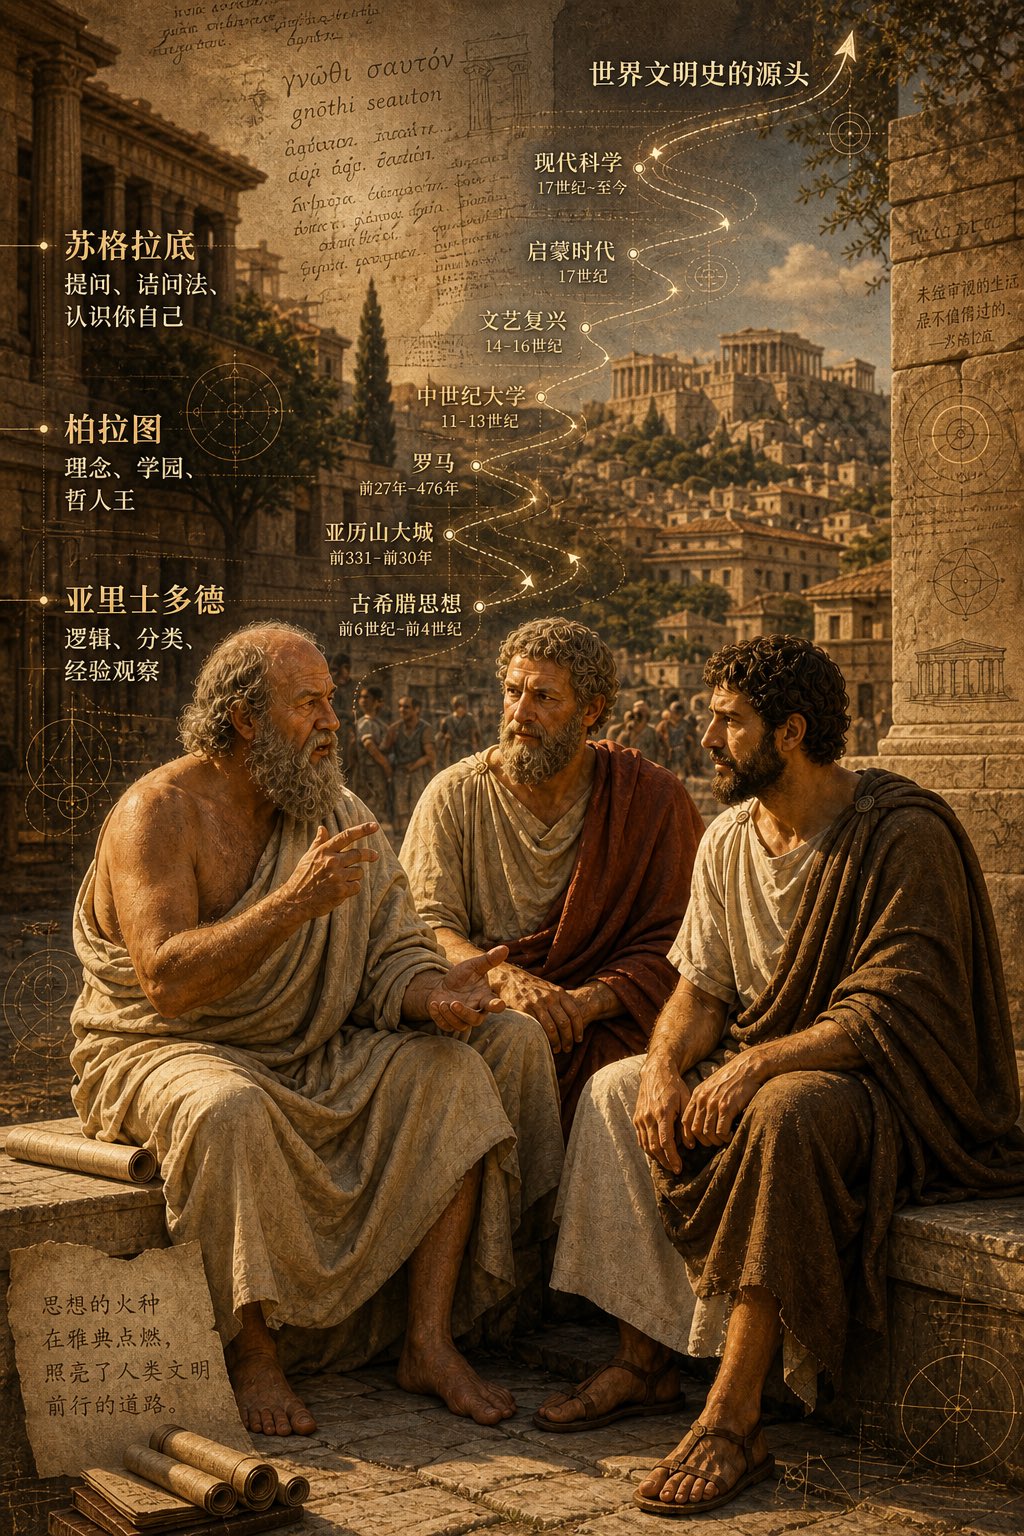
PRO04Three Ancient Greek Philosophers Timeline City Map
Two and a half thousand years ago, Plato, Socrates, and Aristotle sat talking on the streets of Athens, and that conversation gave rise to the origins of world civilization. In the background, their conversation can be added, following the timeline, overlaid onto ancient Gree…